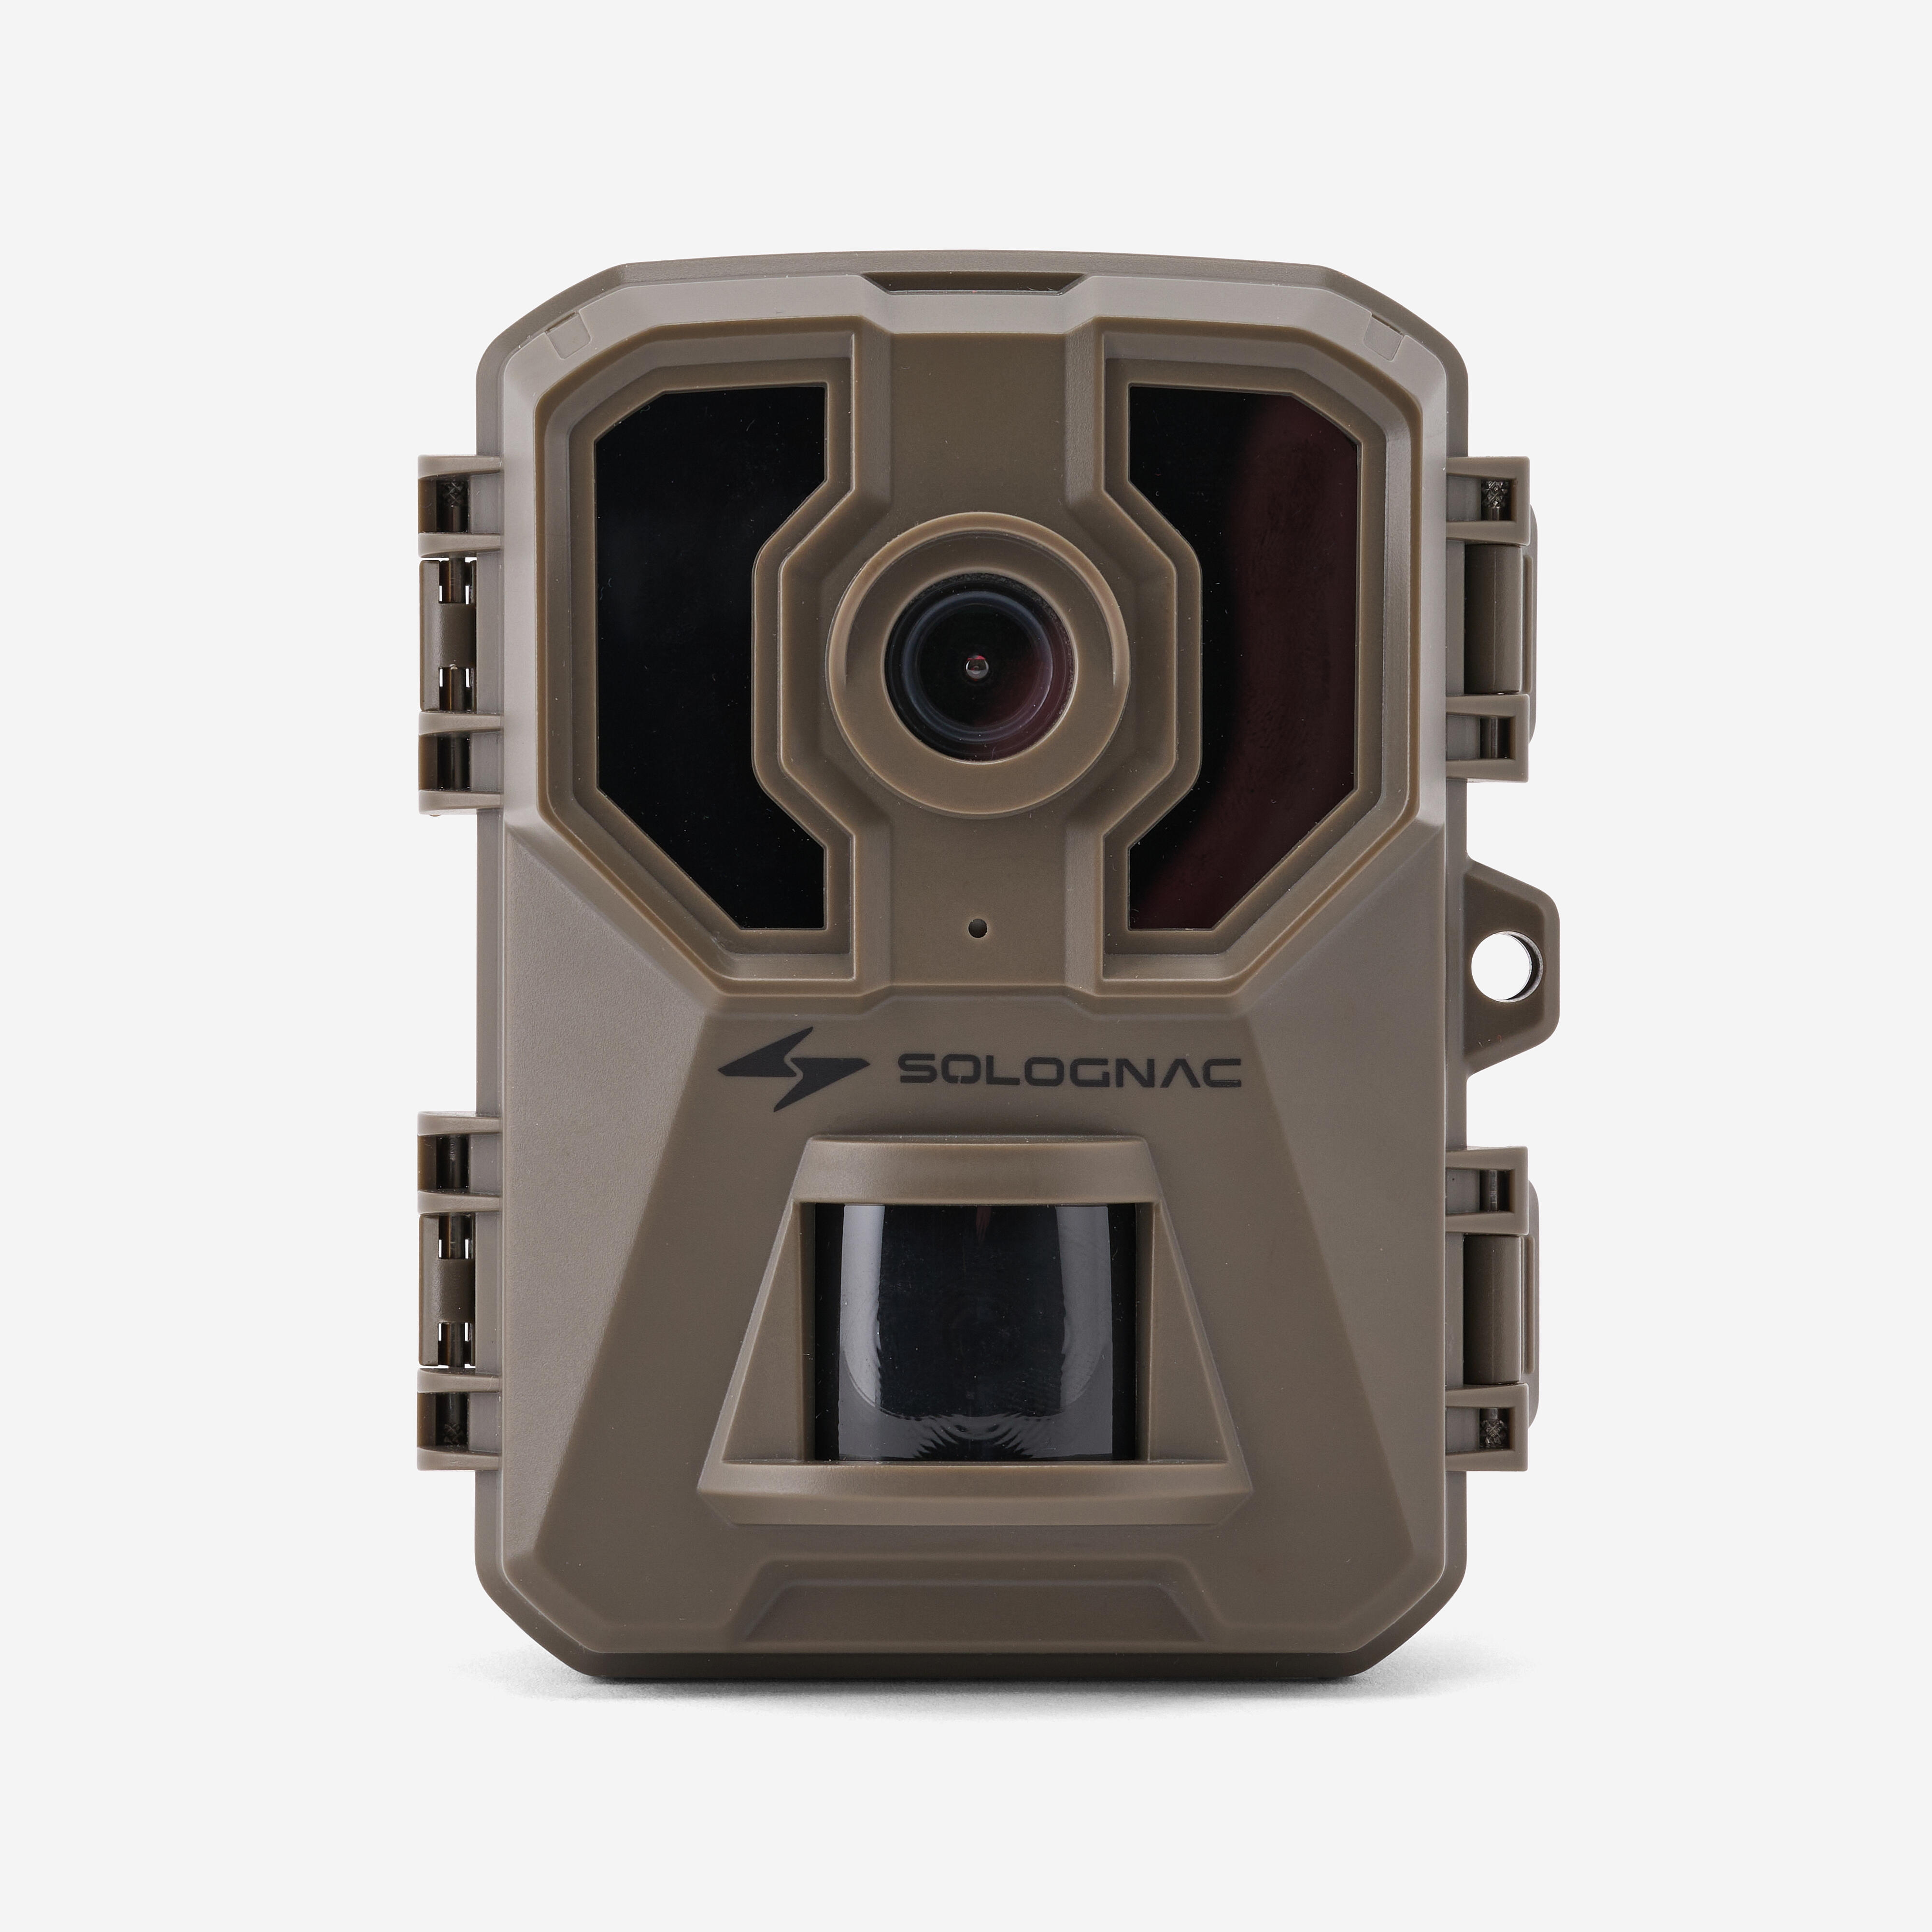
Technical characteristics
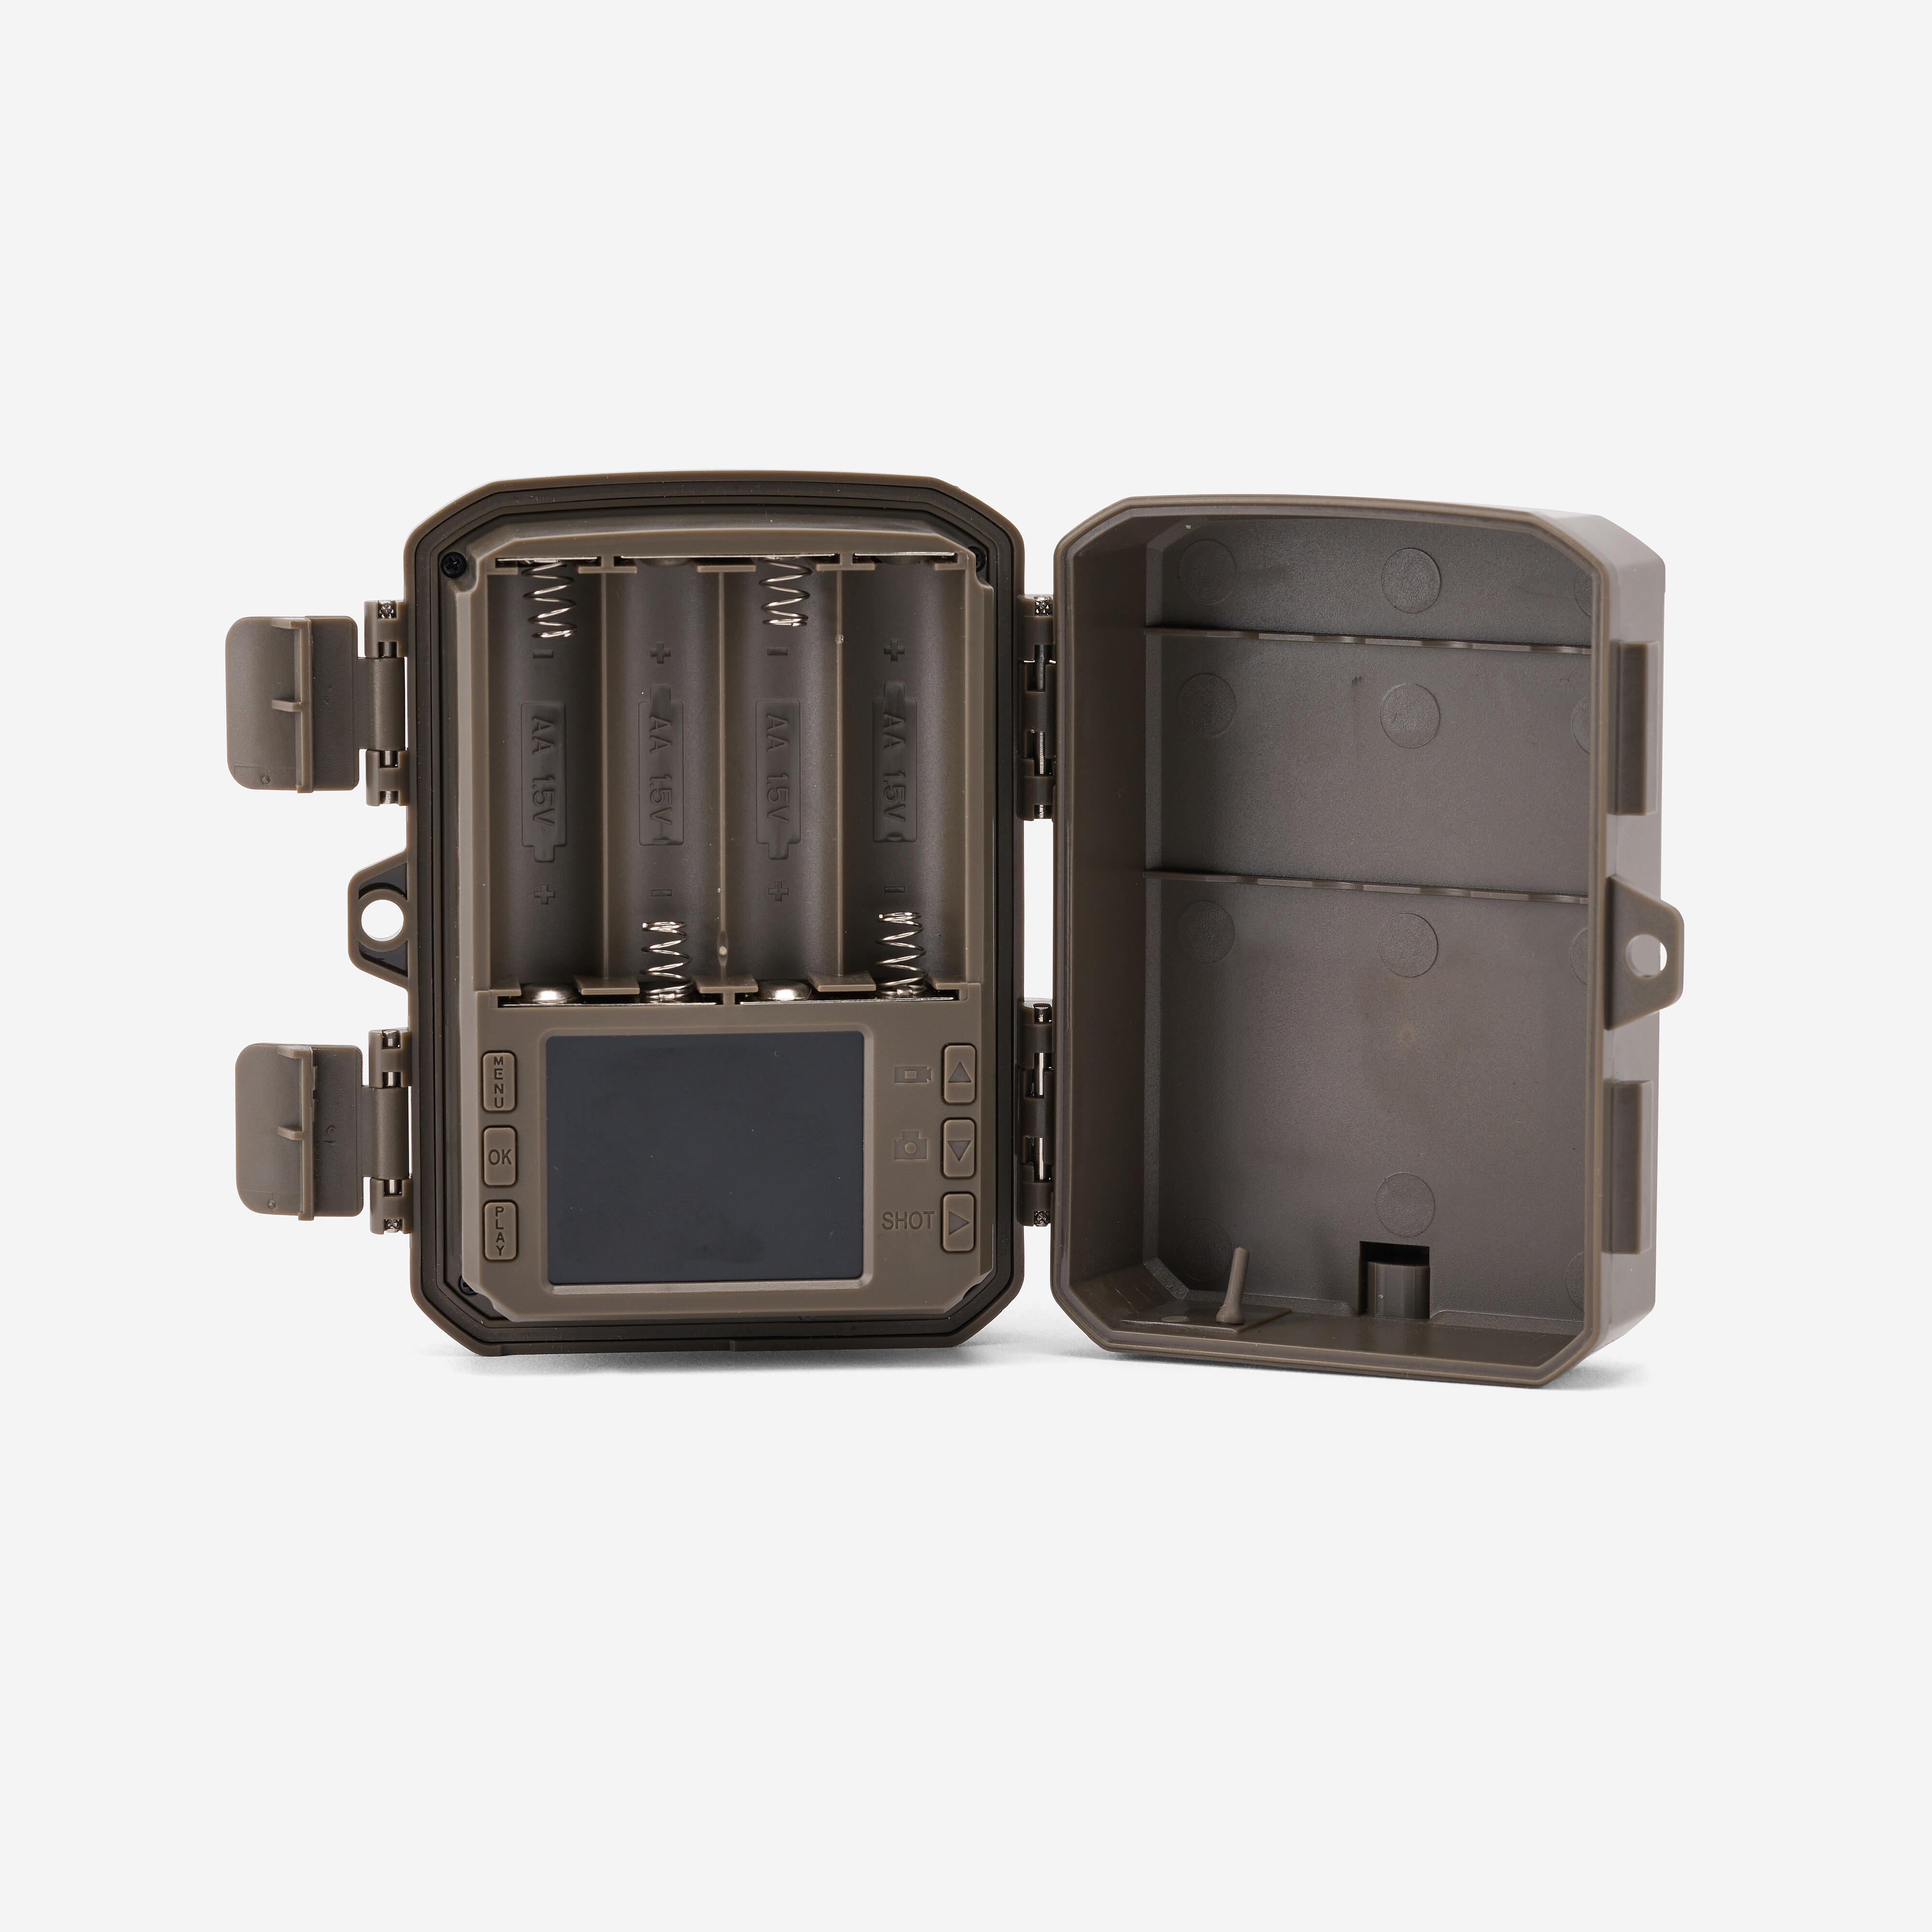
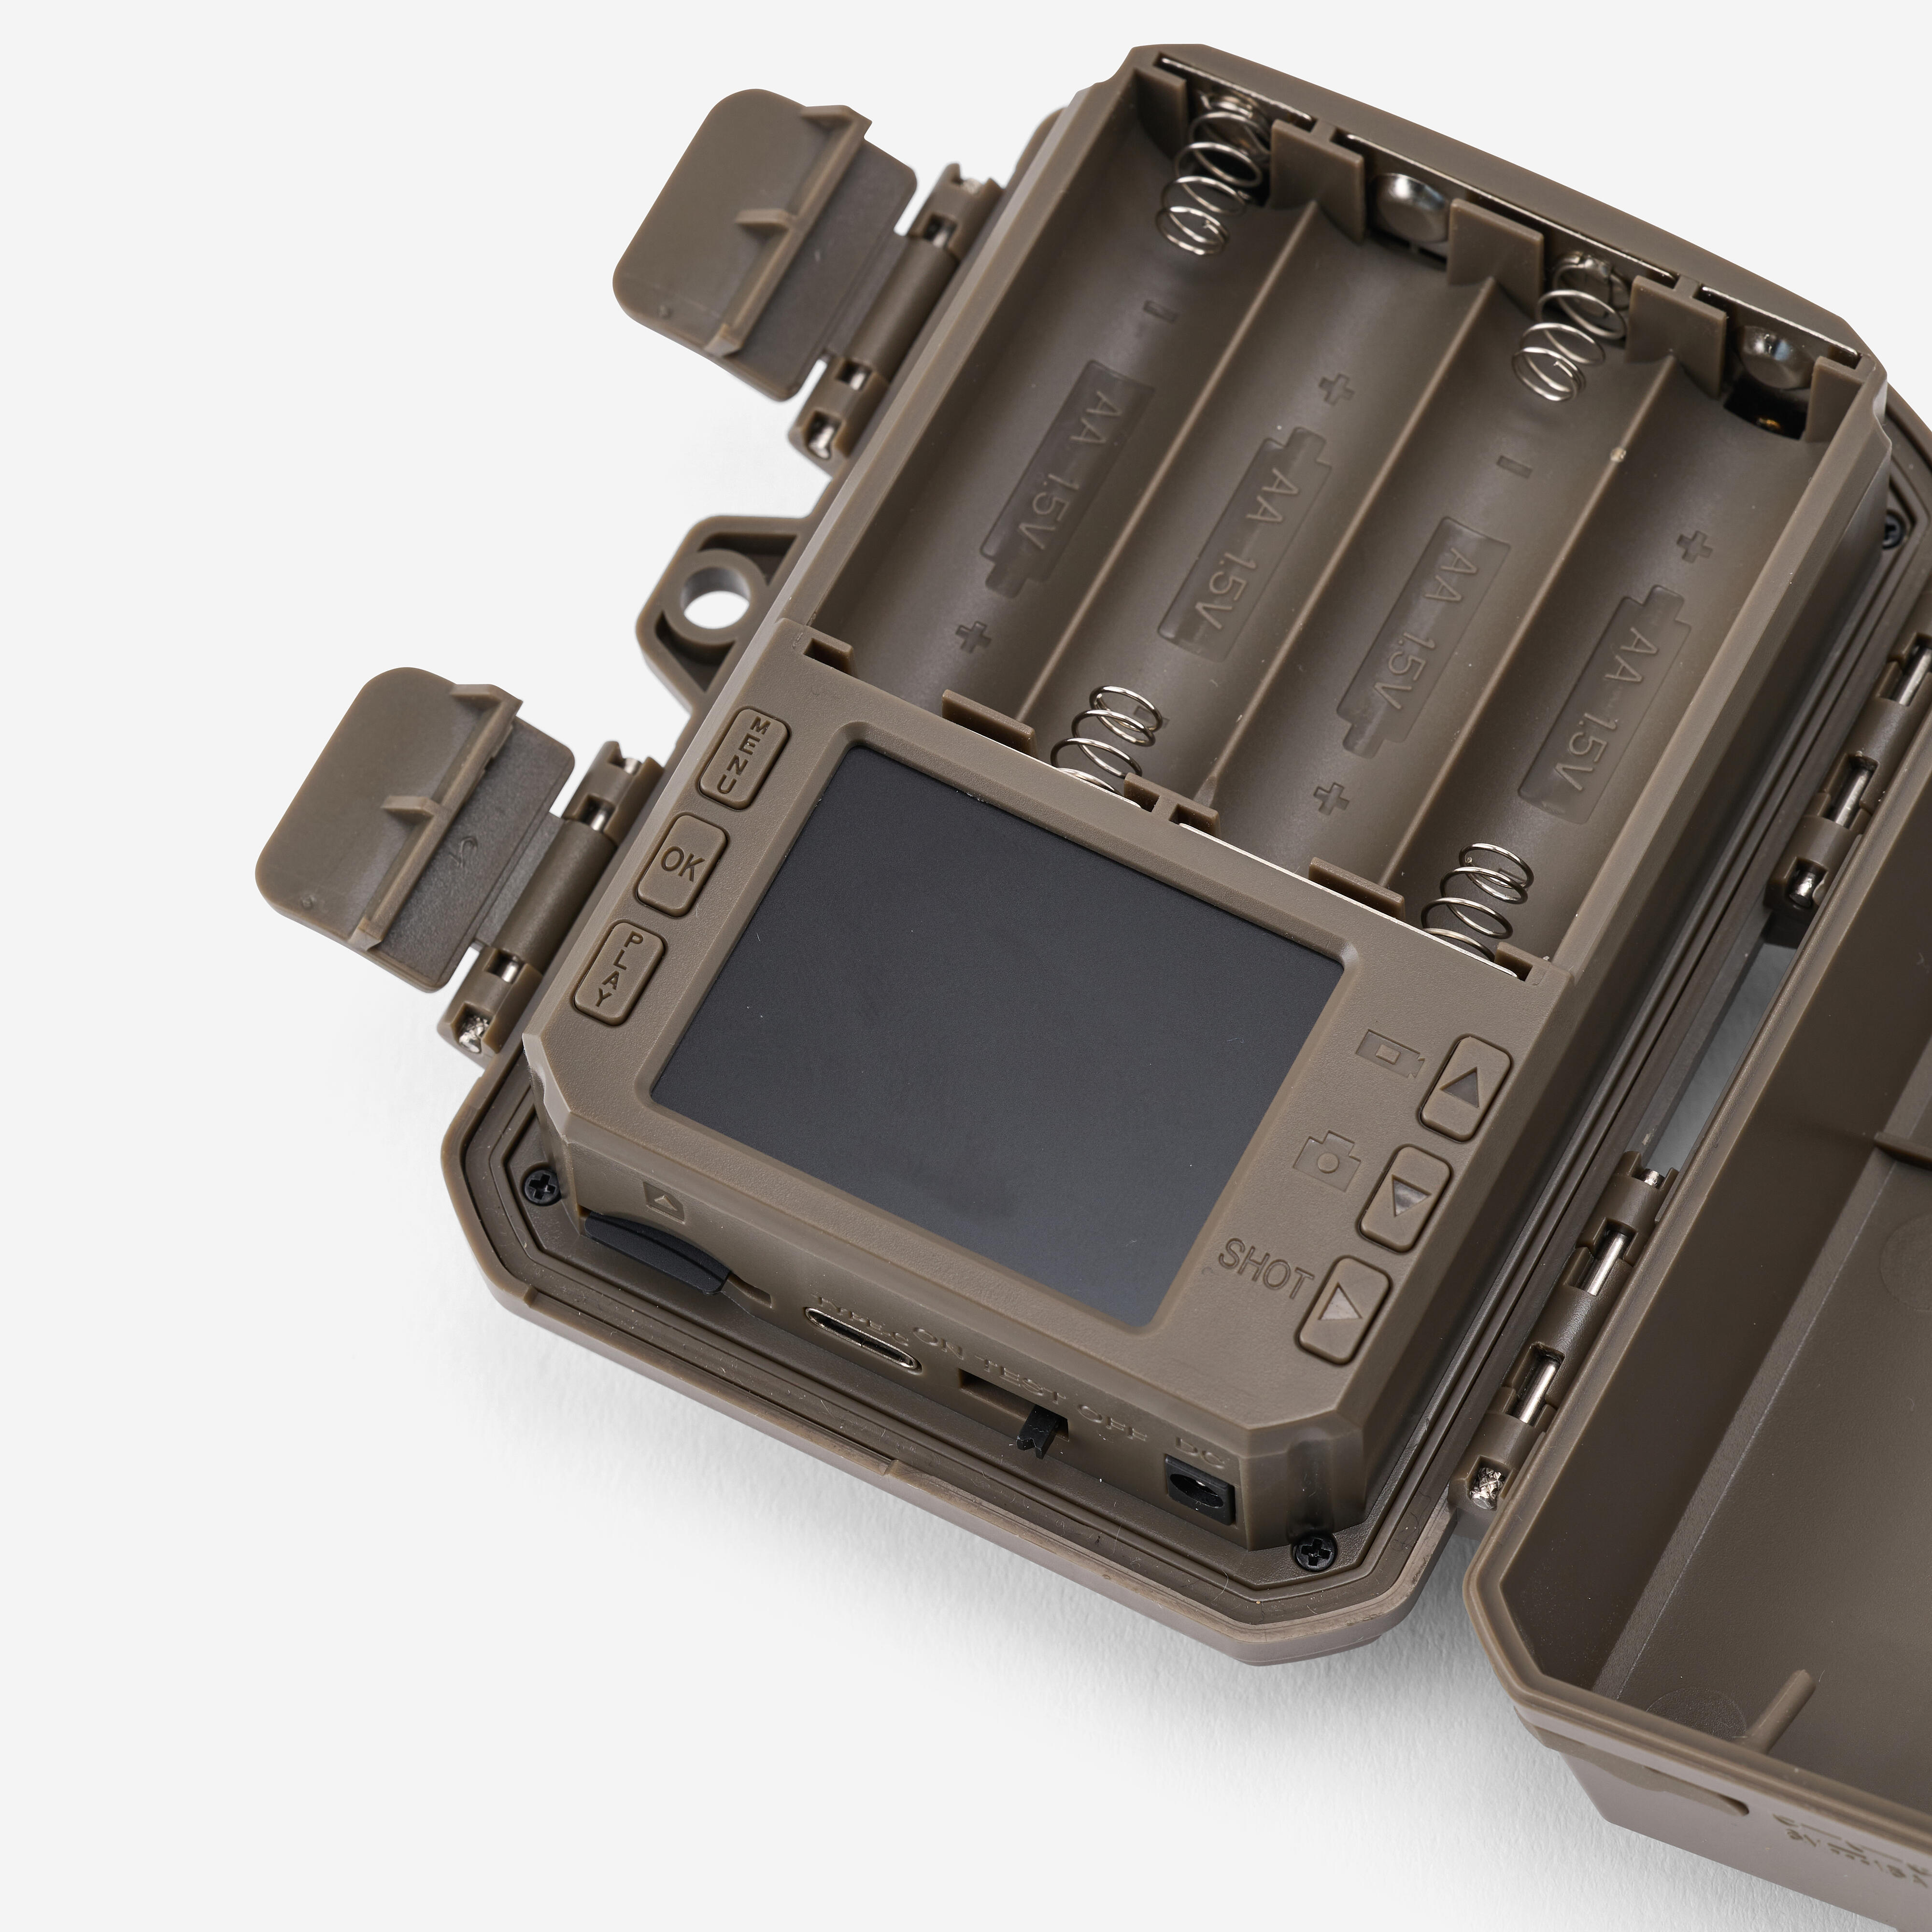
Screen: LCD
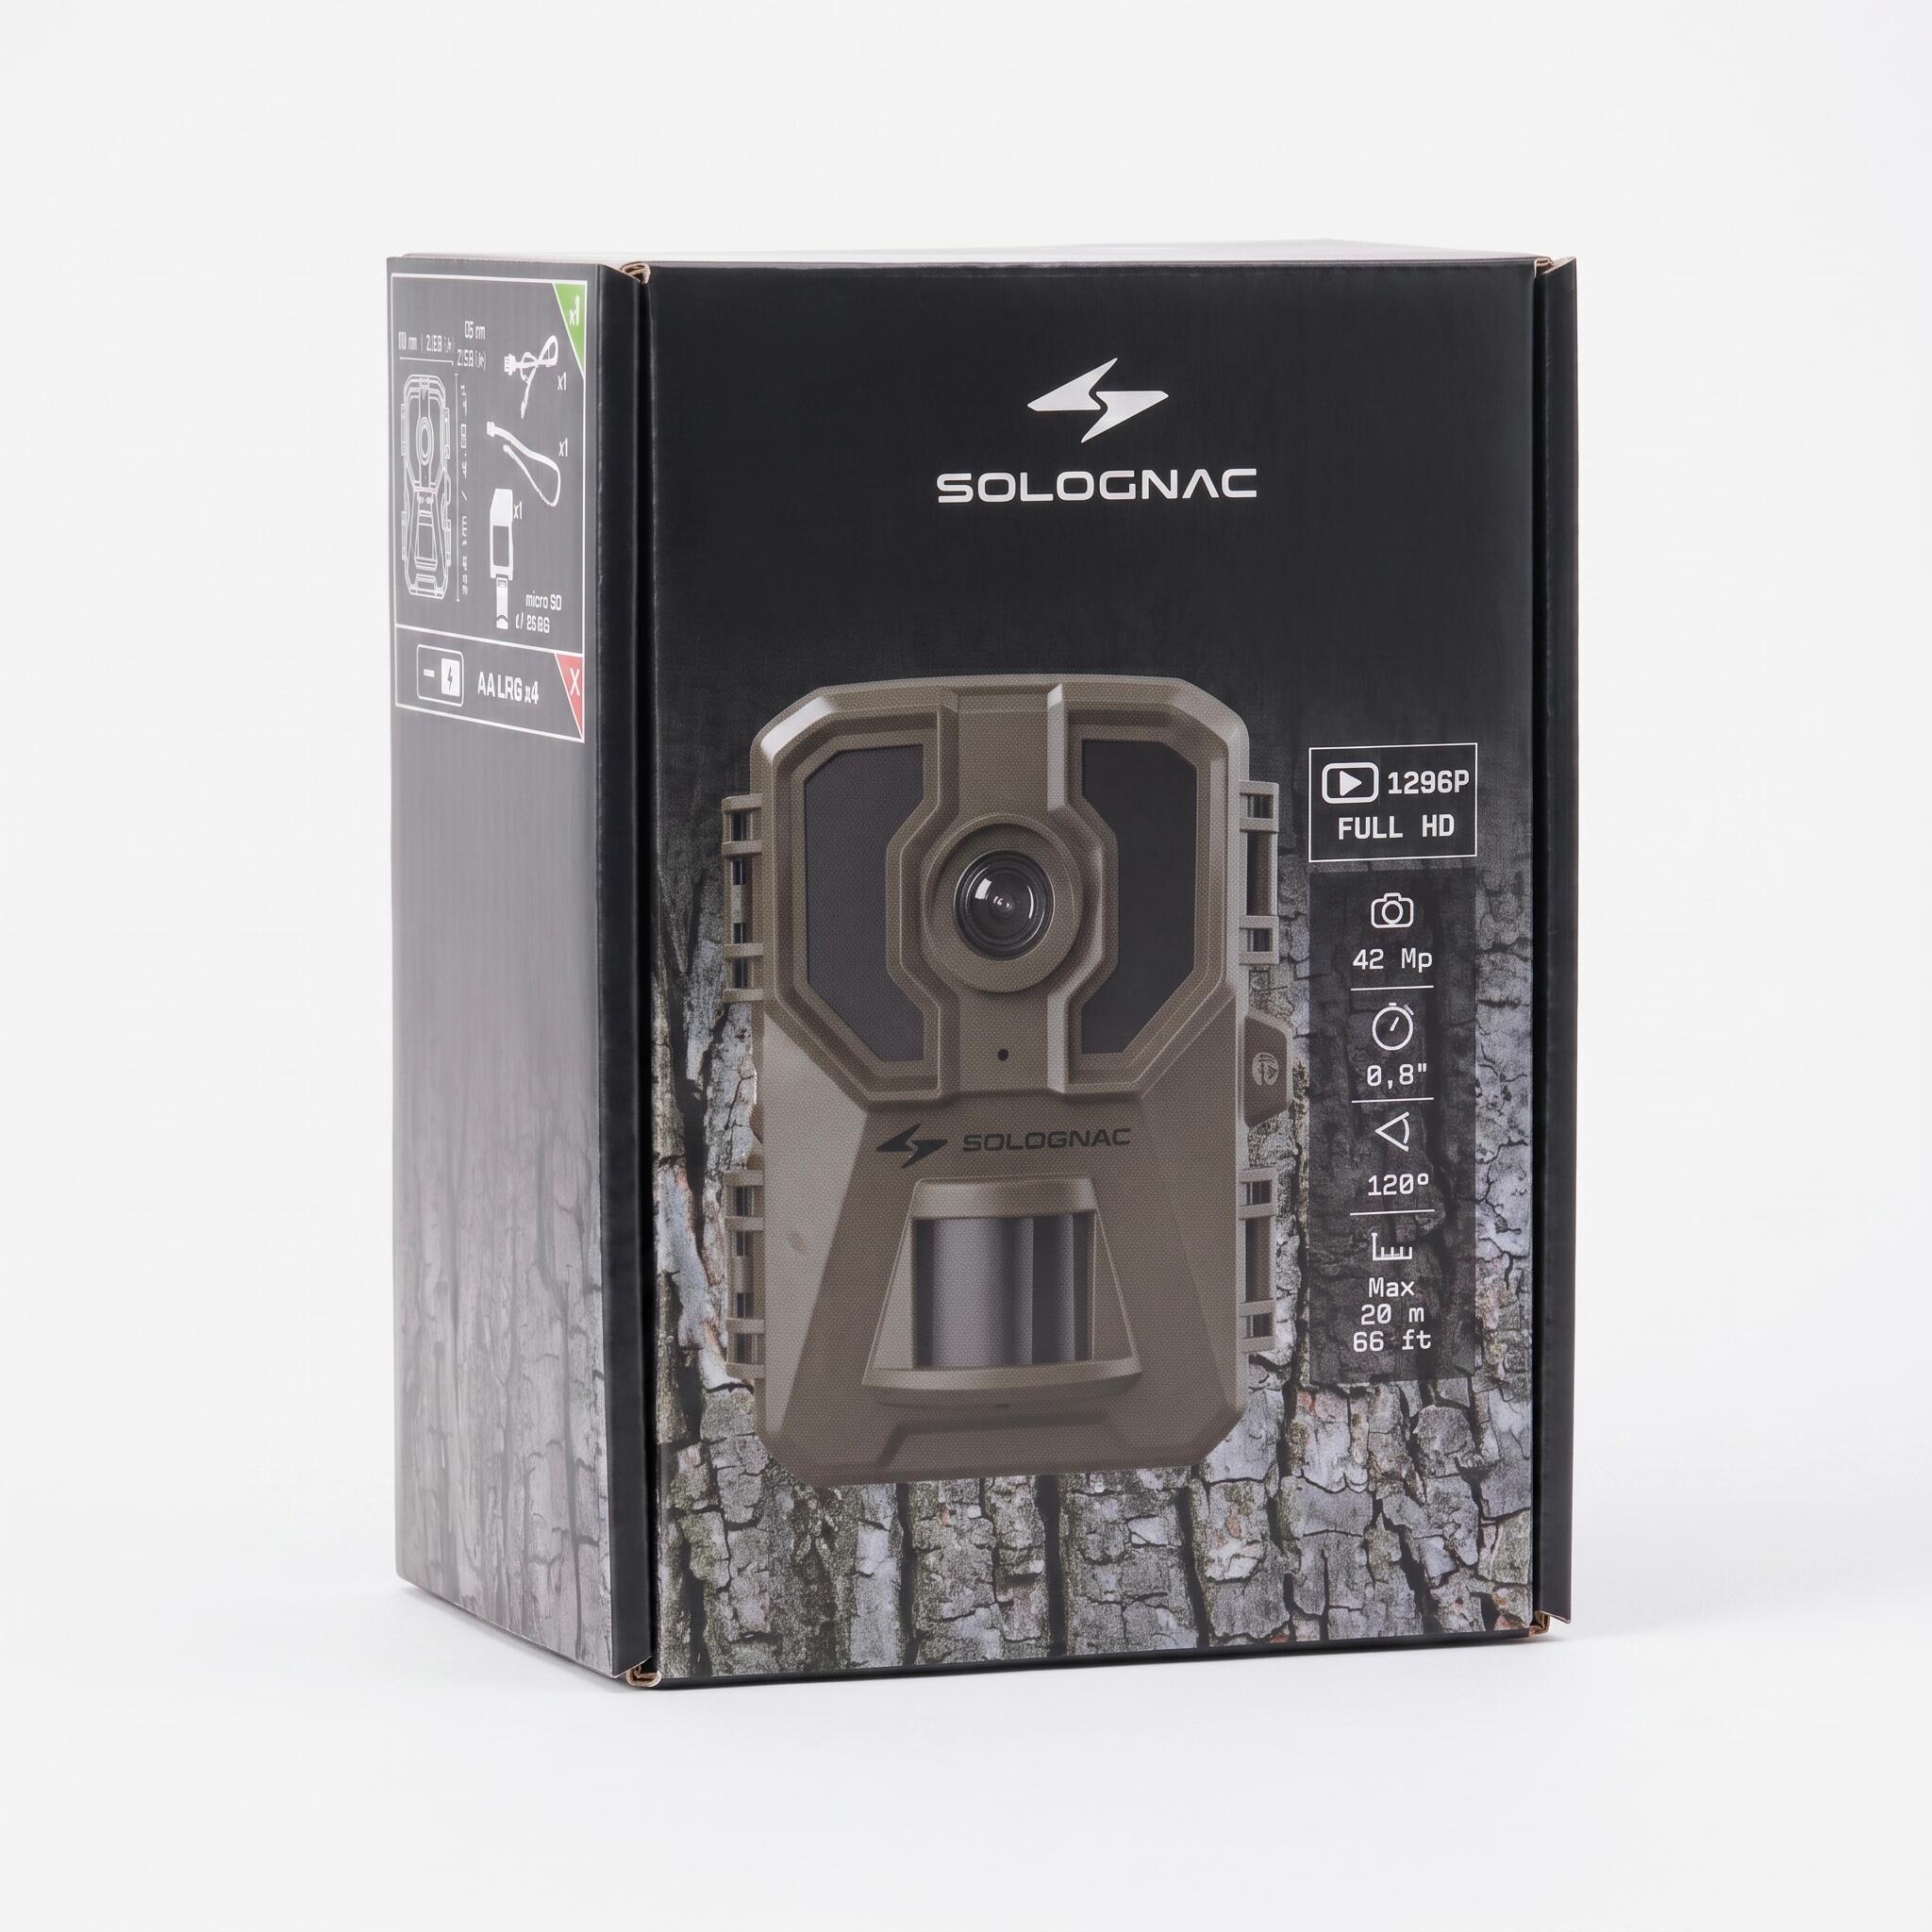
Trigger time: 0.8 seconds
Detection angle: 120°
Motion detection up to 20 m
Operation: day/night
Image resolution: 42 MP
Video resolution: 1280p FULL HD
Waterproofing: IPX4
Weight: 165 g
Dimensions: 110 x 80 x 65 mm
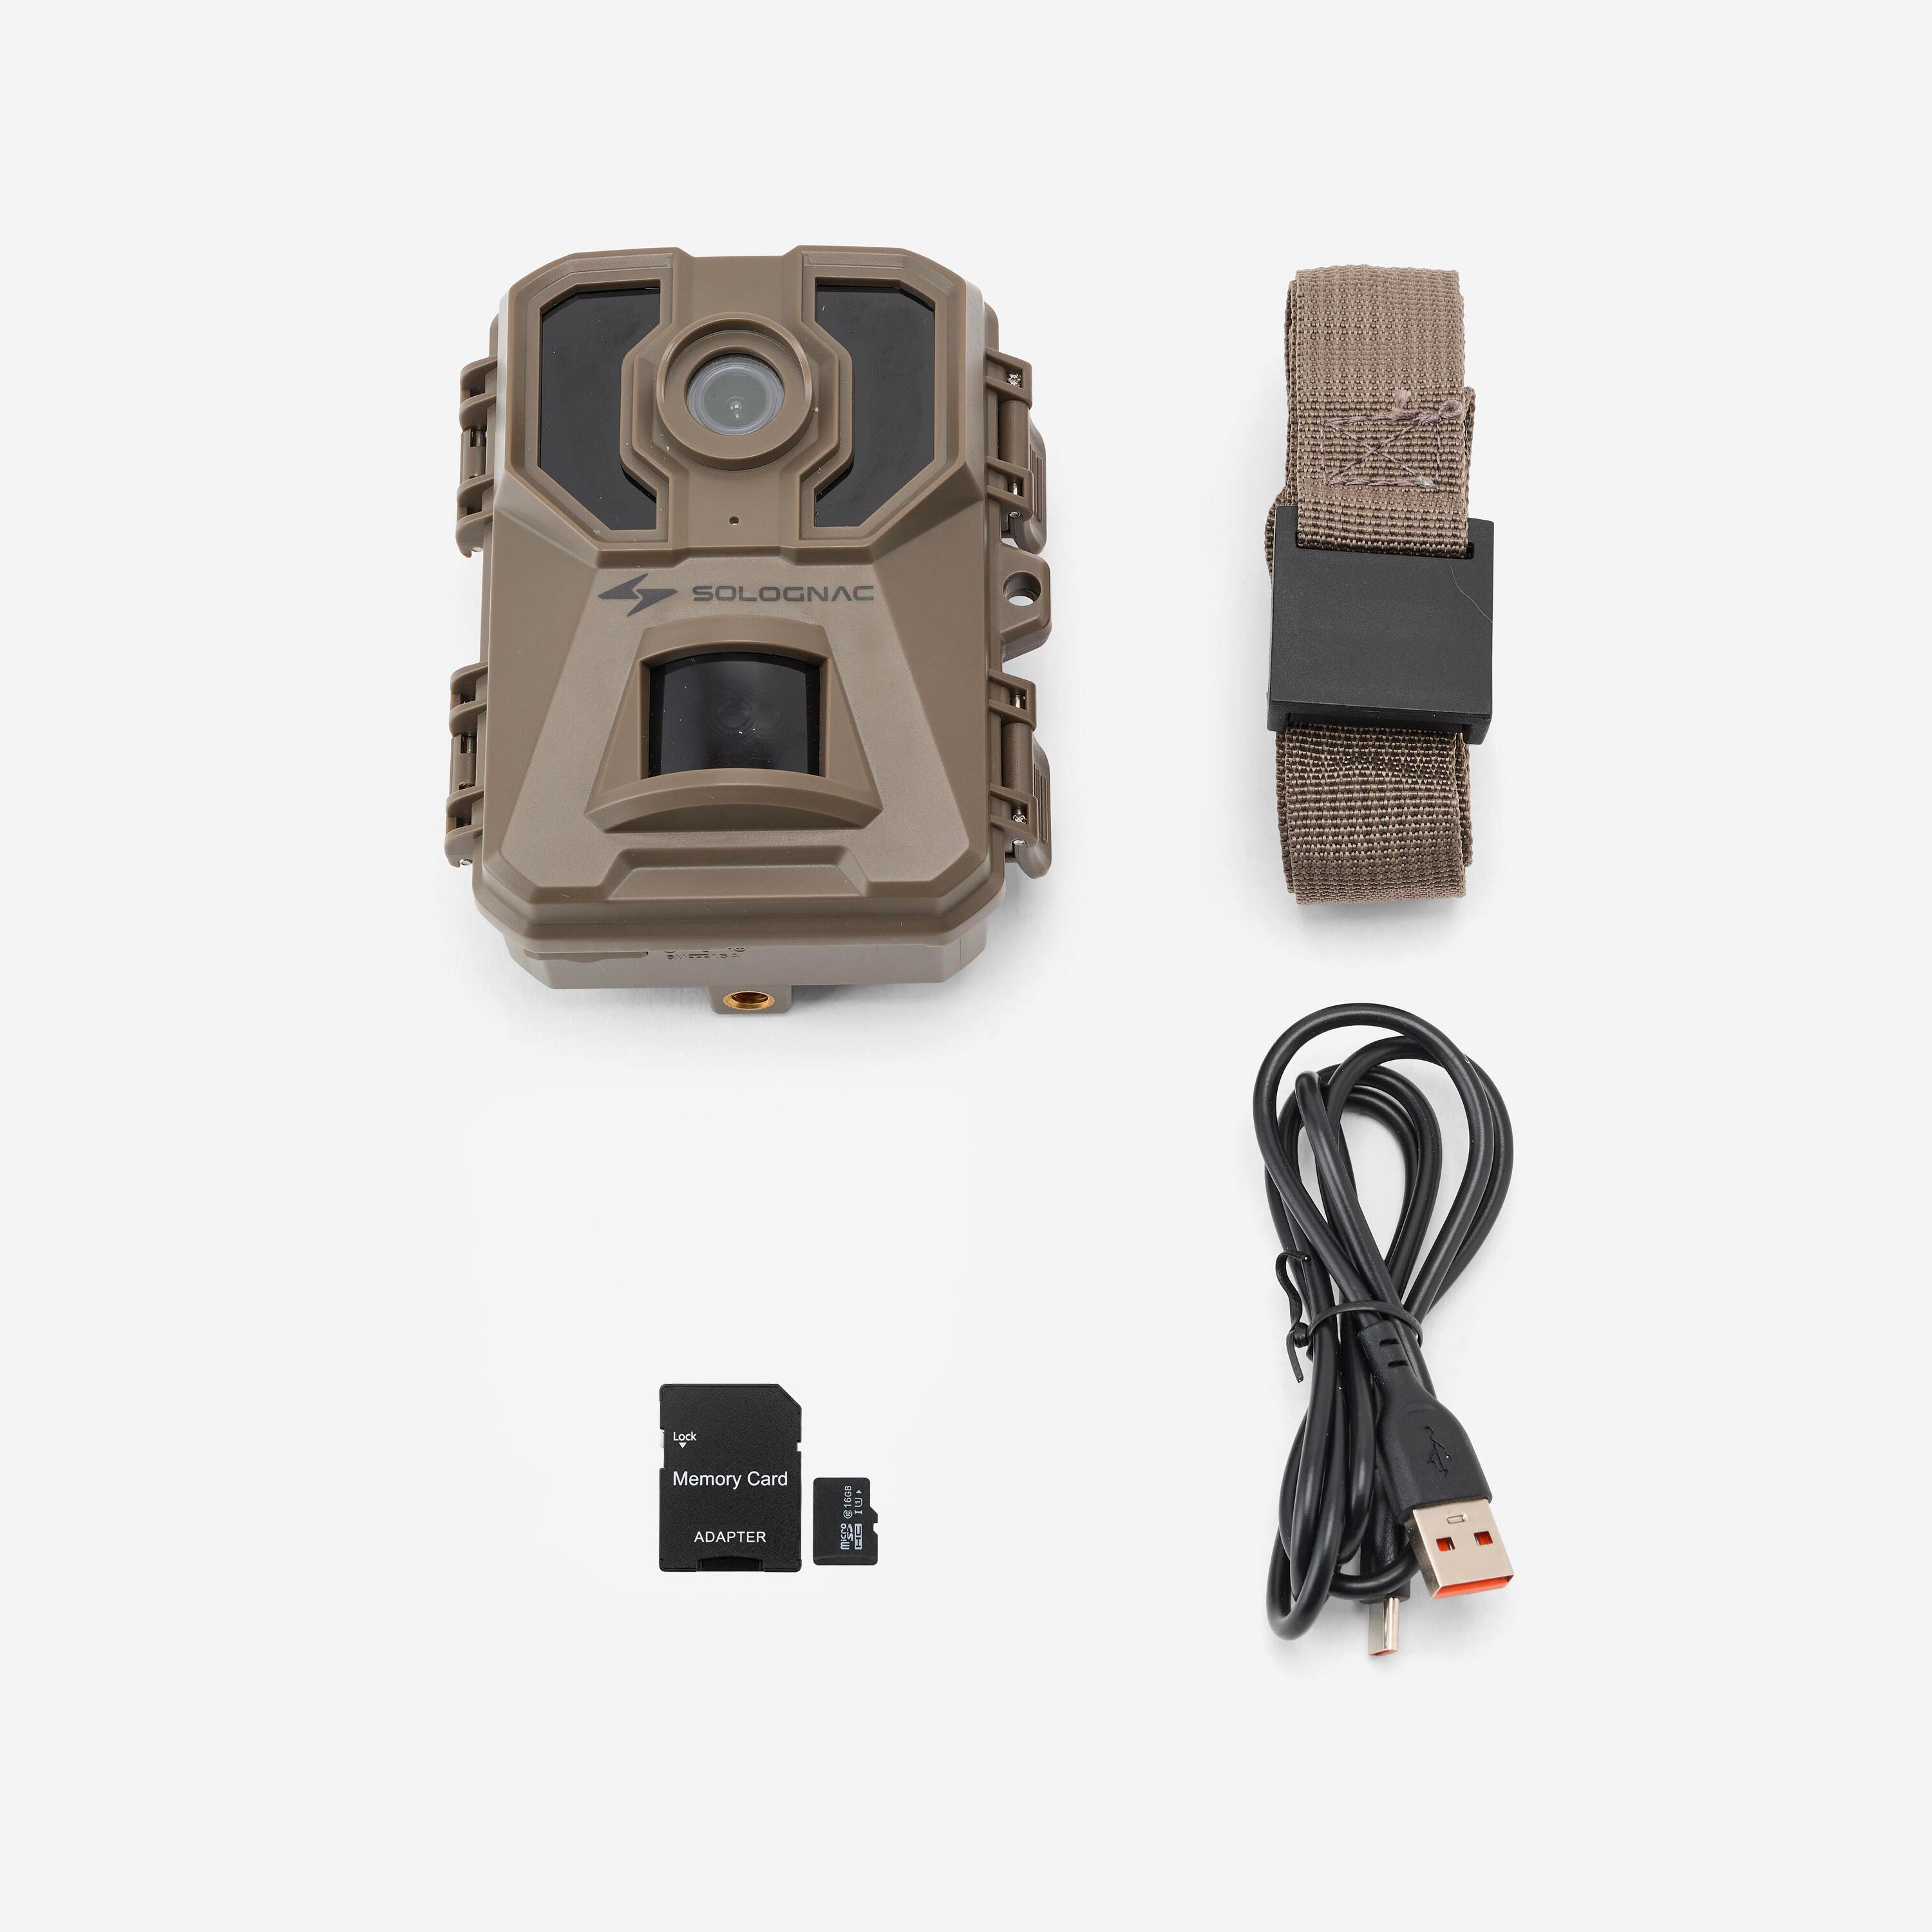
Pack contents
-1 camera
-1 16 GB micro SD card
-1 USB cable
-1 mounting strap
-1 user guide
Note: the 4 AA LR6 batteries are not included.
Setup and power supply
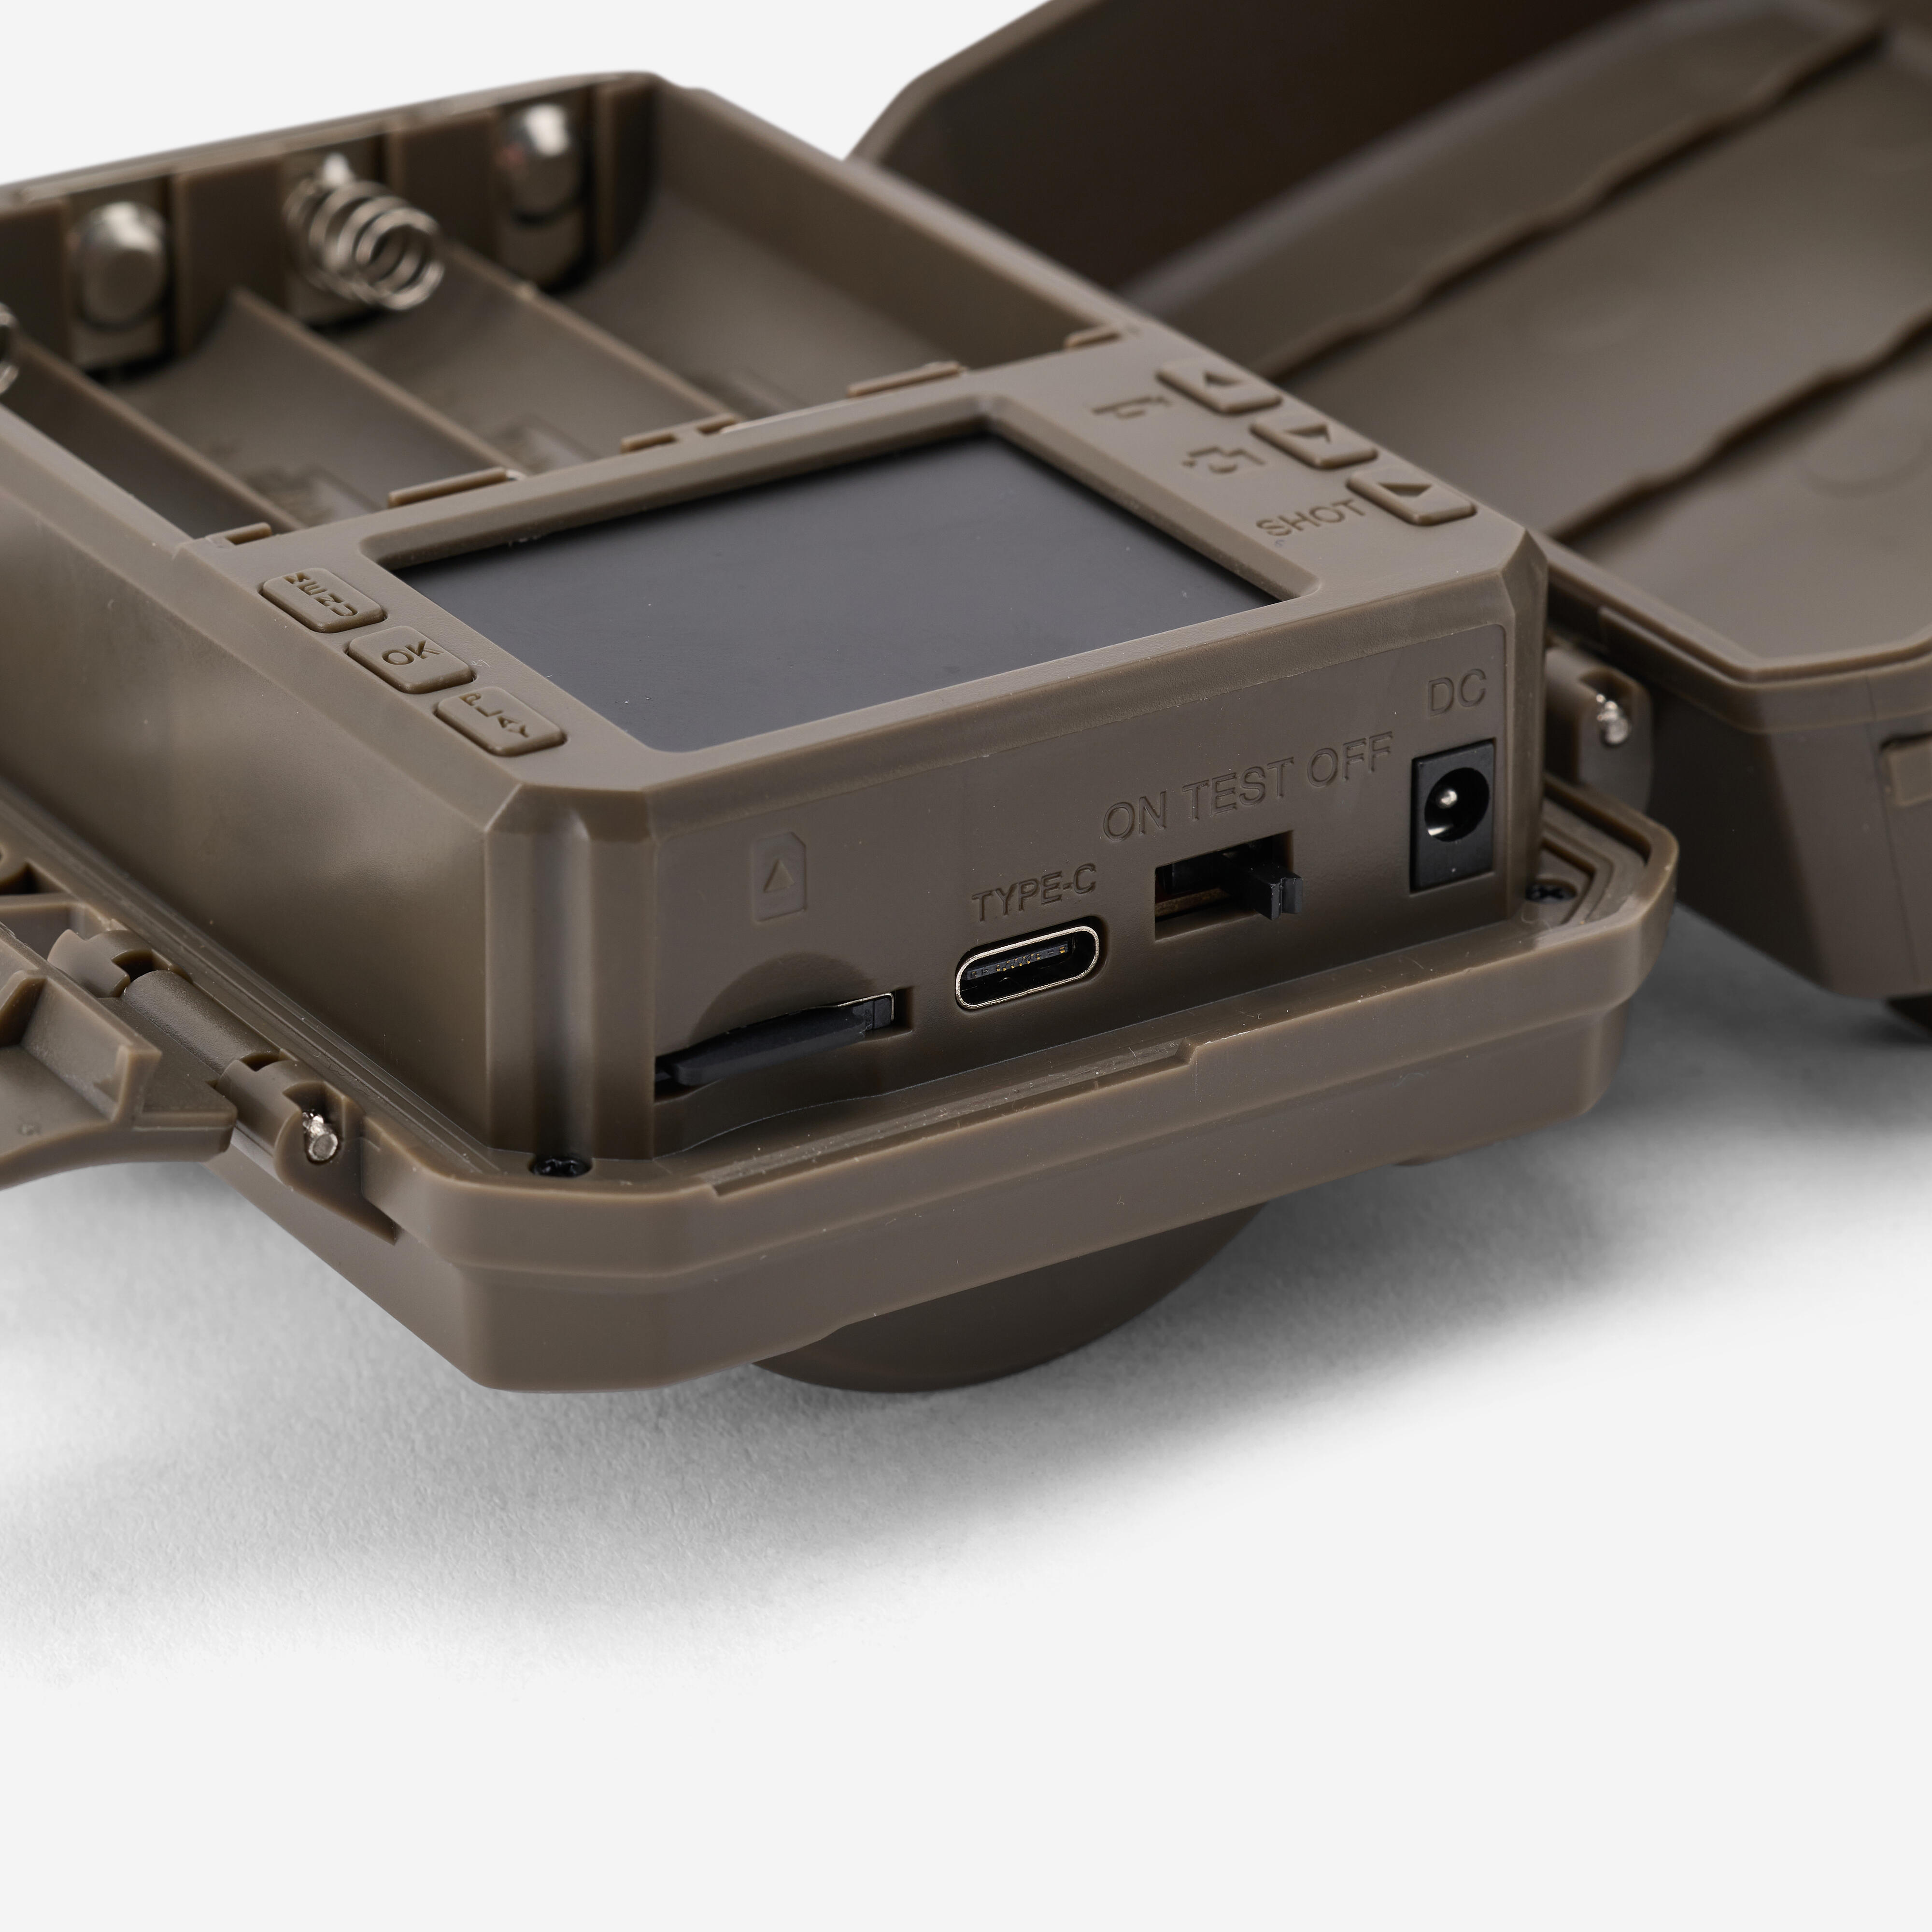
The product comes with a 16GB micro SD card already installed. If you decide to use another card, ensure it is Class U3 or faster before inserting it into the slot.
For installation:
- open the battery compartment by releasing the latches, then pressing the battery compartment release button
- Insert 4 x 1.5 V AA LR6 batteries (alkaline or, preferably, lithium for longer battery life and better performance in cold weather)
- close the compartment
Quick configuration and operating modes (part 1/3)
Quick configuration:
To configure the device, move the switch to “SETUP”.
Capture mode:
-photo: takes photos
-video: records video clips
-photo + video: takes a photo followed by a video
Detection delay:
This is the interval between 2 consecutive photo or video captures. Note that a short detection delay will result in more captures and increase battery consumption.
Quick configuration and operating modes (part 2/3)
Motion detector sensitivity:
-high, for open areas and small animals
-medium, to minimise unwanted shots caused by wind or moving leaves
Getting started:
Once the settings are configured, move the switch to “ON”. The device will delay for a few seconds to give you time to move away. Note that you can set an operating schedule for the camera, via the “Operating schedule” menu.
Quick configuration and operating modes (part 3/3)
Start-up (continued):
This will allow you, for example, to operate the camera only at night or during specific periods; this mode will preserve battery life. In the drop-down menu, you can further customise the settings to suit your needs (burst mode, video duration, photo resolution, etc.).
Positioning (part 1 of 3)
Proper positioning is crucial for obtaining high-quality photos. The camera trap operates using a heat sensor (PIR). When choosing a location, opt for obvious spots: look for established paths or runs (small trails regularly used by animals), watering holes (water sources), or signs of activity (rubs and scrapes on trees). Also focus on areas of interest: feeding station, active burrow or obstacle to the animals’ movement.
Positioning (part 2 of 3)
Angle:
Perpendicular to the path, ideally positioning the camera so that the animal crosses the field of view horizontally rather than walking directly towards or away from the lens. This increases the time spent within the detection zone.
Height:
Set the trap at a height of 0.5 to 1 m from the ground. For large game (deer, for example), aim higher. For small animals (rabbits, foxes), aim lower.
Positioning (part 3 of 3)
Distance:
The optimal capture distance is typically between 5 and 10 m in front of the device.
Avoiding false triggers:
Avoid pointing the camera directly east or west, especially in summer. The heat from the rising or setting sun can cause false triggers or overexposed photos.
Clear away any branches, tall grass or leaves that could move in front of the PIR sensor. The movement of plants and trees swaying in the wind is the main cause of ‘empty’ photos.
Maintenance
Check the camera trap regularly (preferably every 3 to 7 days) to retrieve the images and check the condition of the batteries. Clean the lens and PIR sensor with a soft cloth as needed. If not used for an extended period, remove the batteries to prevent leakage and damage to the camera.